
















How to Put a Slip On Exhaust on a Motorcycle
Sep 1, 2020
Key Takeaways
- Check the instructions for your motorcycle and the specific slip-on exhaust before removing any hardware.
- Support the stock muffler during removal and keep track of clamps, bolts, washers, gaskets, and brackets that will be reused.
- Align the new muffler before tightening the hardware, then follow the torque specifications for that application.
- Clean the exhaust before startup and inspect the installation for leaks, loose hardware, and clearance problems.
For many V-twin cruiser bike owners, nothing beats the thrill of owning a bike with great sound and a stylish look. A new aftermarket exhaust can make that deep, rich sound you love and change the look of your motorcycle. A slip-on primarily changes sound and appearance. Any performance change depends on the specific bike, exhaust, headers, catalyst configuration, intake, and tune. If you’re planning to upgrade or replace your exhaust system, one of the easiest options is a slip-on exhaust.
Wondering how to put a slip-on exhaust on a motorcycle? With a slip-on exhaust, you don’t have to worry about replacing your entire exhaust system. Here’s how to do it:
Read the Instructions Carefully

While installing a slip-on exhaust on your motorcycle should not be complicated, every slip-on from a manufacturer comes with specific instructions that you have to follow so that it performs the way it should. Read the motorcycle’s service manual and the exhaust manufacturer’s installation instructions before starting. The task should be relatively simple with only a few handy tools needed for your bike upgrade.
Can you put any slip on exhaust on a motorcycle? No. The muffler must be designed to fit your motorcycle’s year, make, model, and exhaust configuration. Some mufflers will require a muffler-to-header gasket. The installation of a new slip-on exhaust may also differ from the process of removing the existing muffler. You’ll need to pay close attention to the differences between the factory cruiser bike manual and the aftermarket exhaust manual. Don’t do any upgrades unless you’re sure about what you’re doing.
Loosen the Exhaust Connection Joint
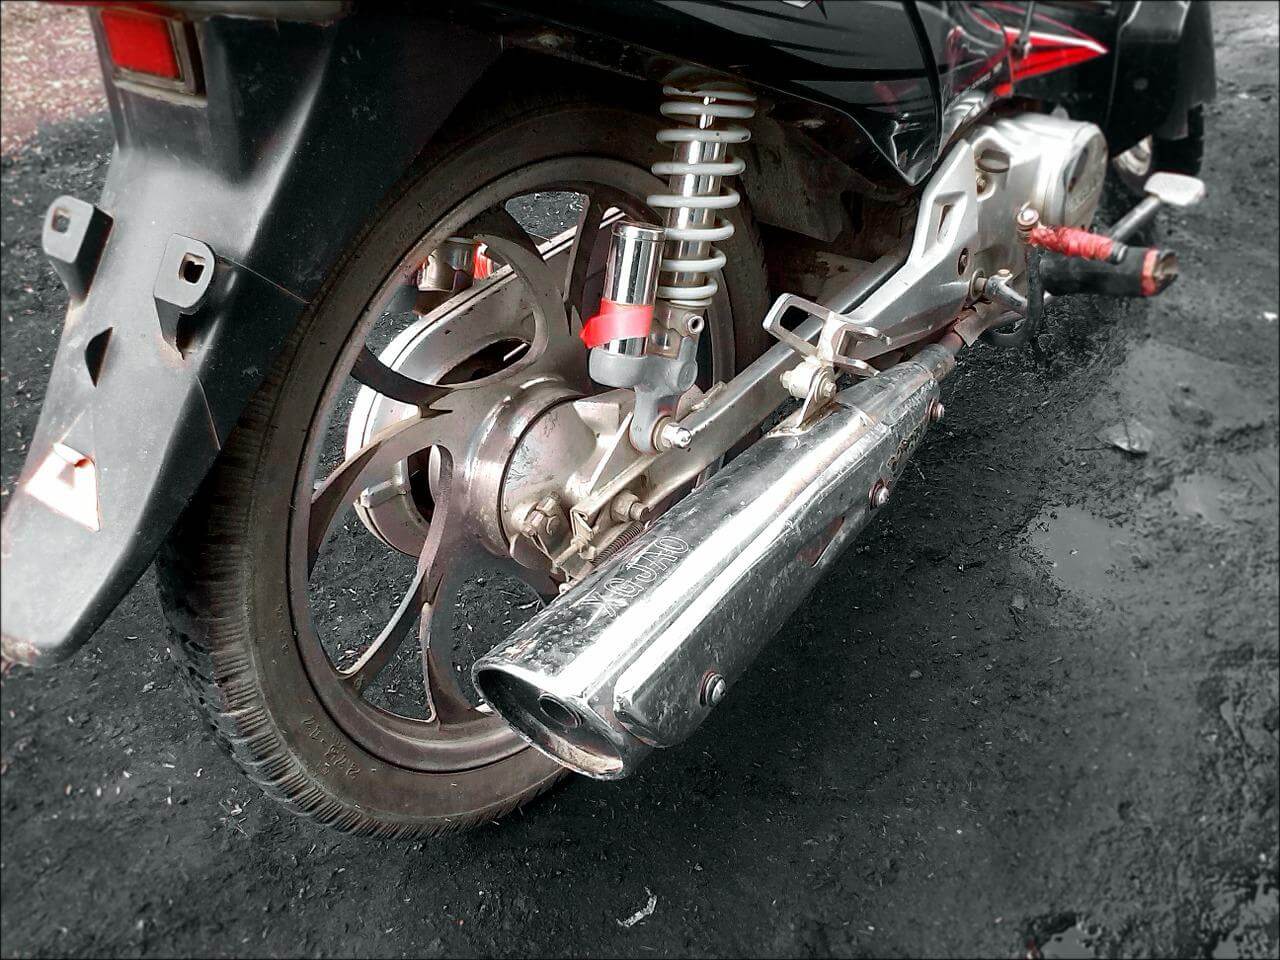
One of the first steps when learning how to put a slip on exhaust on a motorcycle is to loosen the connection joint of your exhaust system. Your slip-on muffler will connect to the header pipes in different ways. Some bikes use a spring-hood system, gasket flange, or a standard band clamp. The connection method may differ between bike makes, models, and years.
Loosen the Exhaust Muffler Bracket
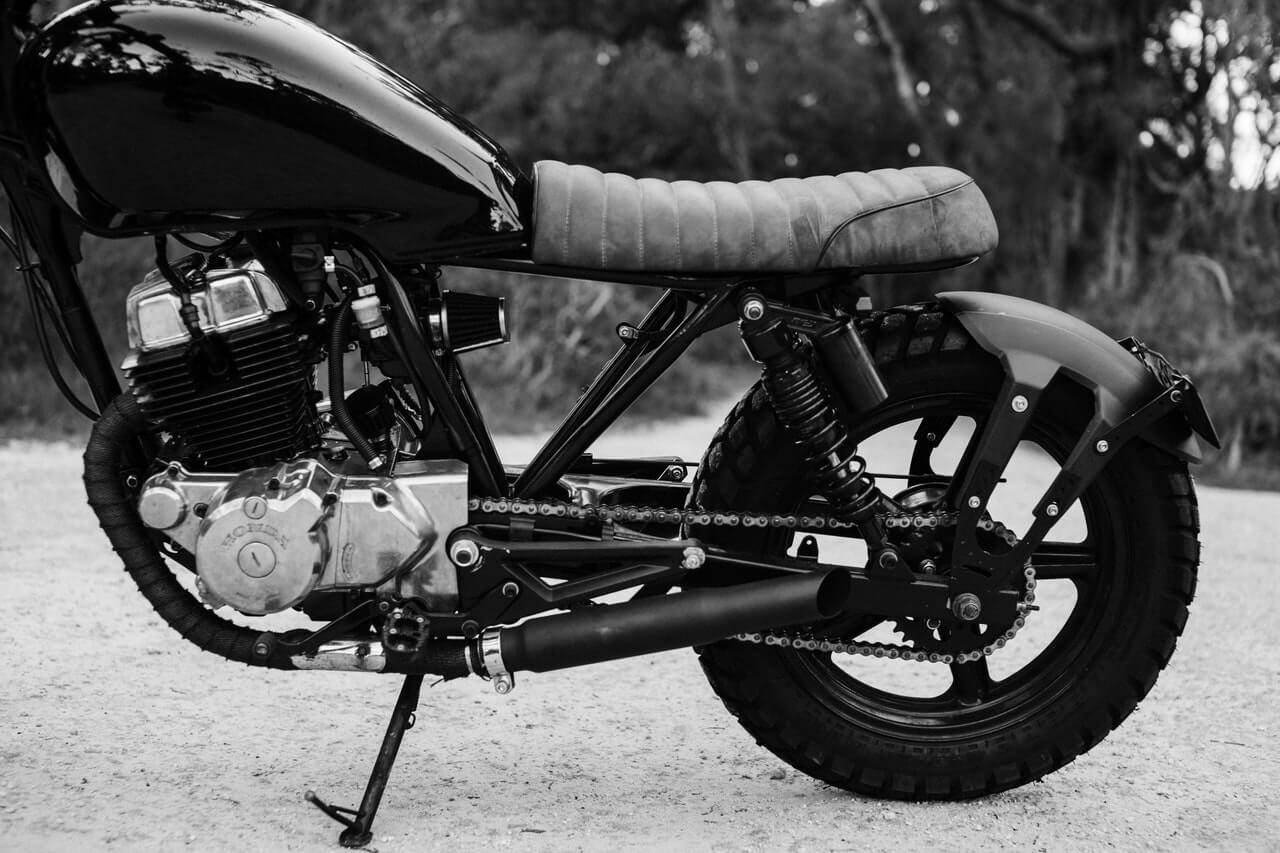
Loosen the brackets that hold the muffler in place. These brackets may vary depending on the V-twin cruiser bike you’re working on. When loosening the brackets, make sure to adequately support the muffler, so it doesn’t strike other parts of your bike and cause damage. Keep any bolts, washers, clamps, or brackets that the new exhaust instructions tell you to reuse.
Remove the Exhaust Muffler From the Cruiser Bike

The next step in learning how to put a slip on exhaust on a motorcycle is to remove the muffler from your cruiser bike. You may have to exert a little bit of force to dislodge the slip-on from the exhaust system. Be cautious as you don’t want to damage your gaskets or cylinder head. If it’s stuck, check the exhaust manufacturer’s instructions. Some manufacturers recommend WD-40 or a similar penetrating lubricant at the slip joint to help free the stock muffler.
Slide the New Slip-On Exhaust Over the Exposed Header Pipe

At this point, you’re now going to repeat the steps you’ve already completed, but in reverse order with one or two variations. When installing your slip-on muffler, you must proceed with caution. Position the clamp and any gasket as directed by the exhaust manufacturer, then slide the muffler onto the header pipe without forcing it. If it doesn’t seat correctly, stop and check the fitment, clamp orientation, gasket, and installation instructions before applying more force.
Secure the New Slip-On Muffler Into Place

Once you’ve aligned everything into place, re-attach the flanges, springs, or gasket clamps needed to secure the muffler to the header pipe. Keep the mounting hardware loose enough to make final alignment adjustments until the muffler is positioned correctly.
One mistake that most beginners make is overtightening the parts. Check your factory service manual and the aftermarket slip-on specs to be sure. Once the exhaust is aligned, tighten the mounting hardware and clamps in the sequence and to the torque values specified for your motorcycle and exhaust. Torque specifications vary by application, so don’t use a universal value.
Wipe Down the Slip-On Muffler and Check for Leaks
You now know how to put a slip on exhaust on a motorcycle. With your new muffler installed, don’t get things started yet. First, wipe down any oil or dirt that may be on the muffler to avoid staining it the first time it gets hot. Then start your cruiser bike to enjoy that great sound and inspect the exhaust connections for leaks, unusual movement, or contact with nearby parts.
If the exhaust manufacturer calls for a post-installation inspection or re-torque after the first ride, let the system cool completely and follow those instructions before riding again.
Shop Slip-On Exhausts at West End Motorsports
Now you’re ready to enjoy the thrill of your new slip-on mufflers, but there’s one more thing. Before installing an aftermarket exhaust, confirm that the specific part is approved for your motorcycle and intended use. Federal law prohibits tampering with required emissions controls, and state or local exhaust-noise requirements may also apply. You can also review West End Motorsports’ information on motorcycle traffic laws.
If you’re looking for name-brand aftermarket slip-on exhausts and other motorcycle parts that you can install on your V-twin cruiser bike, shop at West End Motorsports.
Order online 24/7 and enjoy guaranteed fitment and free shipping on qualifying orders over $99 in the continental U.S. If you need help confirming which slip-on fits your motorcycle, call West End Motorsports at 570-992-1113 for product and fitment support.